Raspberry Pi - Getting Started
After a long wait of four weeks, I finally received my raspberry pi from RS components. This tiny motherboard comes with many features for a modest price of 30£ and is already being considered a hacker’s paradise. Getting started with Raspbian ‘Wheezy’ was simple, thanks to the quick start guide.
However, I came across raspbmc, a minimal distribution of Debian Linux with XBMC pre-configured and optimized for your raspberry pi. This blog post is about my experience to get raspbmc up and running.
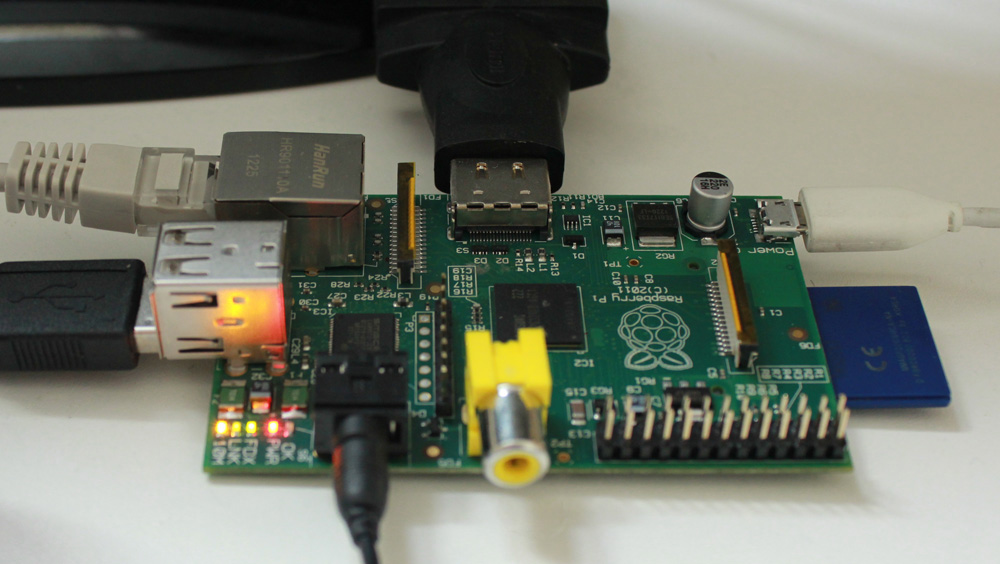
My setup
- A Scandisk SD card
- My HTC desire charger to power the board (you can even use an iPad charger)
- HDMI to DVI-D adapter, to connect my BenQ monitor
- Speakers
- Ethernet cable
- USB keyboard
Unlike Wheezy, raspbmc doesn’t come with a complete bootable OS distribution. Instead, it provides installer images that require a working internet connection to download and configure the OS.
Configuring SD card with the installer is simple. Insert the SD card and run:
wget http://svn.stmlabs.com/svn/raspbmc/testing/installers/python/install.py
sudo chmod +x install.py
sudo python install.py
Please proceed with the on-screen instructions and select the SD card (for me, it was disk1s1). Once it finishes, you’ll see a message, ‘Raspbmc is now ready to finish setup on your Pi; please insert the SD card with an active internet connection.’
Plug the SD card in the pi and power it up. It starts with downloading and installation of kernel modules & libraries, and it reboots. For some reason, the pi wouldn’t come up after the reboot. As suggested by the good eggs from the internet, I replaced the bootcode.bin on the SD card with this version, and then it booted properly.
Next, I was stuck at the following message:
Raspbmc Updater
Downloading a new XBMC build.. (stuck at 21%)
Power-cycling the raspberry pi fixed this issue.
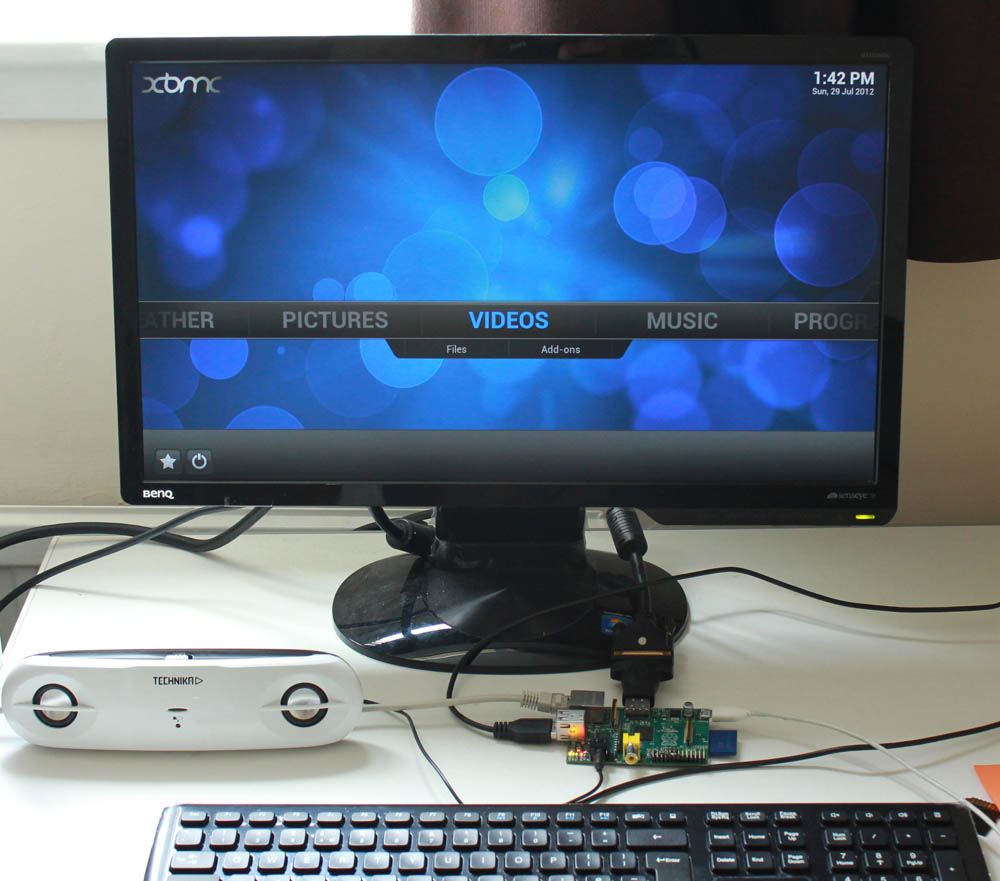
And here’s my raspberry pi running XBMC!