Mimo USB Monitor and Raspberry Pi
I’ve been trying to put my Mimo UM-740 touchscreen monitor to good use for the past few weeks. It sounds old school, but yeah, we are talking about pre-iPad age when I used it as a touch screen skype-phone device.
Follow this tutorial to configure the monitor as a primary display for raspberry-pi. Although I have explained the steps against Nanovision Mimo UM740, they should work with any DisplayLink USB monitor.
My setup
- 7 port powered USB hub
- Raspberry Pi running raspbian wheezy
- Mimo UM740 touchscreen monitor
- Ubuntu 12.04 machine for kernel compilation
Step 1: Prepare the SD card
- Setup SD card with raspbian wheezy
- Boot using a standard HDMI monitor
- Using raspi-config, enable ssh server and disable the GUI mode on startup.
- This will allow us to work on it without a monitor.
Step 2: Compile Kernel with udlfb support
First, we need to enable Displaylink frame-buffer support in the kernel. I have followed these steps to compile the kernel on Ubuntu 12.04.
2.1: Install dependencies
apt-get install git-core gcc-4.6-arm-linux-gnueabi
2.2 Symlink the cross compiler
sudo ln -s /usr/bin/arm-linux-gnueabi-gcc-4.6 /usr/bin/arm-linux-gnueabi-gcc
2.3: Checkout the source code
mkdir raspberrypi
cd raspberrypi
git clone git://github.com/raspberrypi/linux.git
2.4: Configure
cd linux
cp arch/arm/configs/bcmrpi_cutdown_defconfig .config
make ARCH=arm CROSS_COMPILE=/usr/bin/arm-linux-gnueabi- oldconfig
#optional#make ARCH=arm CROSS_COMPILE=/usr/bin/arm-linux-gnueabi- menuconfig
Make sure that displaylink framebuffer support is enabled:
- Follow ‘Device Drivers’ > ‘Graphics Support’ > ‘Support for Framebuffer support’.
- Enable ‘Displaylink USB Framebuffer support’ by selecting ‘M’.
2.5 Compile
make ARCH=arm CROSS_COMPILE=/usr/bin/arm-linux-gnueabi- -k -j3
References
Step 3: Replace kernel.img on SD card
Once compilation is successful, package the kernel image:
mkdir ../modules
make modules_install ARCH=arm CROSS_COMPILE=/usr/bin/arm-linux-gnueabi- INSTALL_MOD_PATH=../modules/
cd ../tools/mkimage/
./imagetool-uncompressed.py ../../linux/arch/arm/boot/Image
This will create kernel.img in the current directory. Mount the SD card and replace existing kernel.img with the one which we just built.
Connect the monitor through a powered USB hub and reboot the pi. If everything has gone well, you should see a green screen.
Troubleshooting
Connect to ethernet & check if monitor was detected correctly:
$ dmesg | grep DisplayLink
usb 1-1.2.2.4: Manufacturer: DisplayLink
udlfb: DisplayLink nanovision MiMo - serial #USM700-8B280858
udlfb: DisplayLink USB device /dev/fb1 attached. 800x480 resolution. Using 1504K framebuffer memory
You should see two framebuffer devices, one for the HDMI adapter (fb0) and other for the USB monitor (fb1).
$ ls /dev | grep fb
fb0
fb1
Configure Xorg
Using ssh, create /etc/X11/xorg.conf on the pi using following configuration:
Section "Device"
  Identifier "uga"
  driver "fbdev"
  Option "fbdev" "/dev/fb1"
  Option "ShadowFB" "off"
EndSection

Section "Monitor"
  Identifier "monitor"
EndSection

Section "Screen"
  Identifier "screen"
  Device "uga"
  Monitor "monitor"
EndSection

Section "ServerLayout"
  Identifier "default"
  Screen 0 "screen" 0 0
EndSection
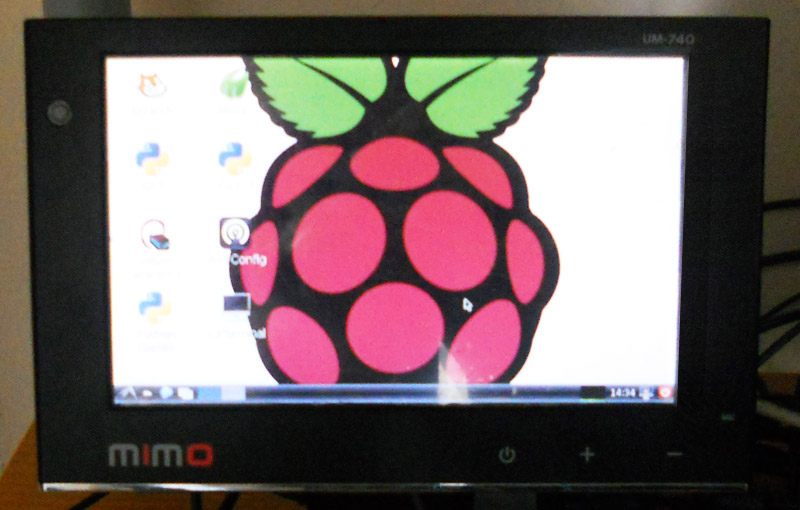
Start the GUI mode using ‘startx’ and you are done!